Difference between revisions of "Laser-cut microscopy stages"
From Hackteria Wiki
| Line 9: | Line 9: | ||
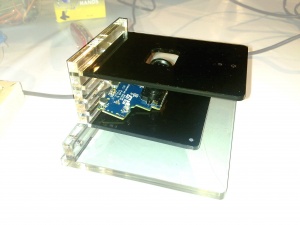
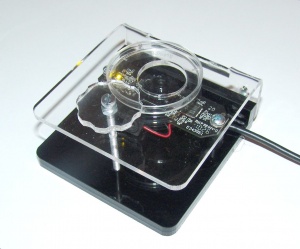
== Hackstage V1 == | == Hackstage V1 == | ||
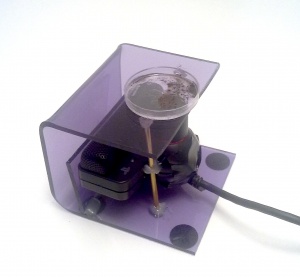
| − | [[File:HackStage1.jpg|400px|none|thumb| | + | [[File:HackStage1.jpg|400px|none|thumb|HackStage V1]] |
| Line 23: | Line 23: | ||
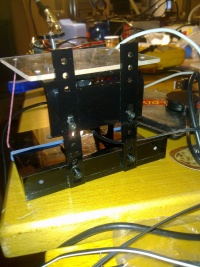
== Hackstage V2 == | == Hackstage V2 == | ||
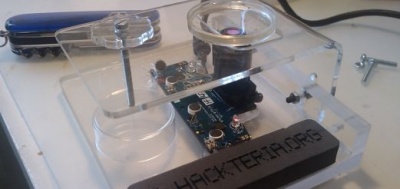
| − | [[File:HackStage2.jpg|300px|none|thumb| | + | [[File:HackStage2.jpg|300px|none|thumb|HackStage V2]] |
| Line 34: | Line 34: | ||
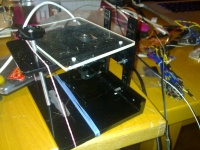
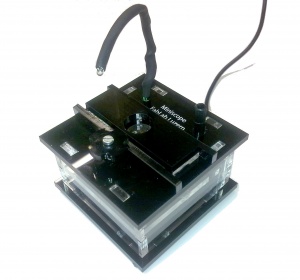
== MiniScope 1 == | == MiniScope 1 == | ||
| − | [[File:MiniScope1.jpg|300px|none|thumb| | + | [[File:MiniScope1.jpg|300px|none|thumb|MiniScope 1]] |
== MiniScope 2 == | == MiniScope 2 == | ||
| − | [[File:MiniScope2.jpg|300px|none|thumb| | + | [[File:MiniScope2.jpg|300px|none|thumb|MiniScope 2]] |
Revision as of 21:53, 8 August 2011
Contents
Stage Designs and Kits for WebCam Microscopes
In the course of the may workshops on webcam microscopes dozens of genius designs were born. Each setup is unique and the result of an intensive construction and learning process. To integrate some of the experiences and speed up the process of construction you find some stage designs on this page. These designs use acrylic glass and are easy to reproduce using a laser cutter like you can find them in most FabLabs.
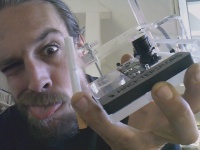
Hackstage V1
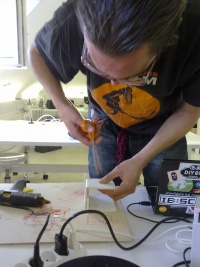
Marc while designing a first mockup
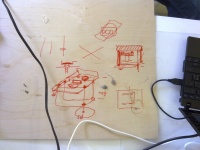
Sketches for the hackstage
Hackstage V2
Anttis Prototype for Hackstage V2
MiniScope 1
MiniScope 2
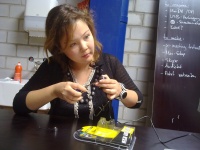
Emika working on the Miniscope
Miniscope Workshop with FabLab Japan
