DIY Incubator
Contents
INTRODUCTION
An incubator is an isolated storage place that is used for cultivating bacteria. The incubator maintains optimal temperature of the atmosphere inside it. Incubators are essential for a lot of experimental work in cell biology, microbiology and molecular biology and are used to culture both bacterial as well as eukaryotic cells. The simplest incubators are insulated boxes with an adjustable heater, typically going up to 60 to 65 °C (140 to 150 °F), though some can go slightly higher (generally to no more than 100 °C). The most commonly used temperature both for bacteria such as the frequently used E. Coli cells is approximately 37 °C, as these organisms grow well under such conditions. They also need a circulation system for equal distribution of heat in the box.
We made a simple incubator that maintains a temperature of 37 °C using materials that are easily available. This incubator will be used cultivate E.Coli.
You will need,
1. Styrofoam box.(doesn't conduct heat)....................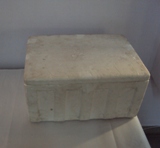
2. heating element.(bulb,heating pad,etc.).................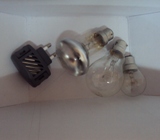
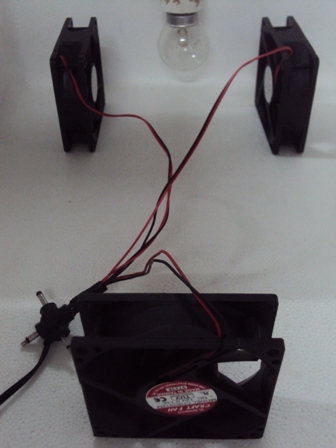
3. cabinet fans.(depending on size of box).................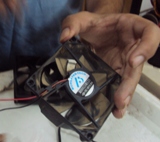
4. thermometer.(between 20 °C to 100 °C).................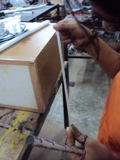
5. 12V adaptor.(for powering fans)............................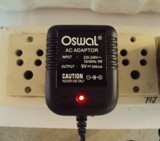
6. conducting wire.(adapter to fans)..........................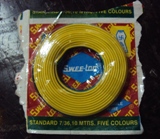
7. insulation tape.
PROCEDURE
How our box functions
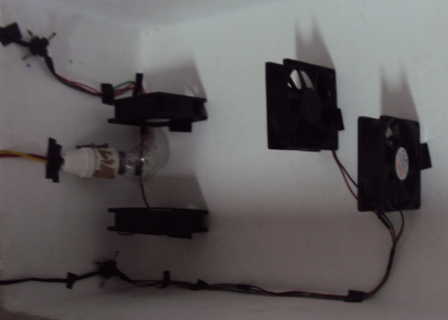
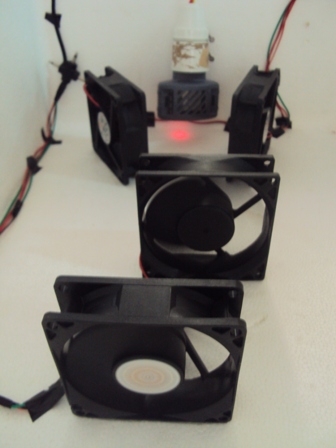
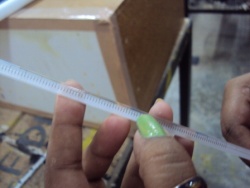
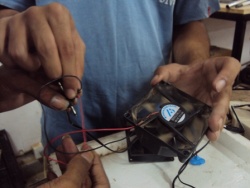
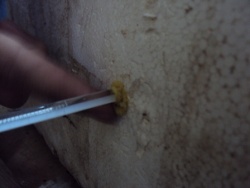
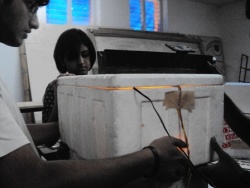
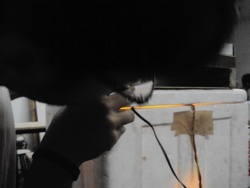
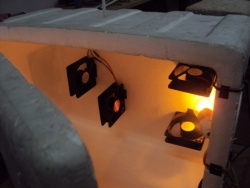
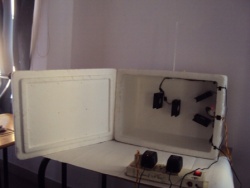
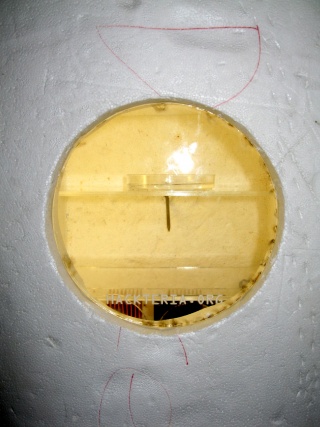
The styrofoam box is an insulated box that keeps the heat locked inside. The heating element is introduced into the box to produce heat. The cabinet fans are used to circulate the heat inside and keep the temperature same everywhere in the box. A thermometer is introduced into the box through a perfect fitting hole in the box to measure the temperature inside. the hole is then well sealed and insulated. Neither the heating element nor the fan must be too close to the thermometer. The fans and heating element must be placed in such a way that the required temperature is achieved(Not as easy as it seems). once the placement is finalized, stick the fans and the heat source in place using arelldite. The lis of the box must be sealed properly so as to not let any exchange take place(duct tape). The incubator is ready to use.
Our Process
Day 1
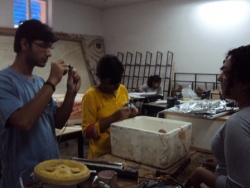
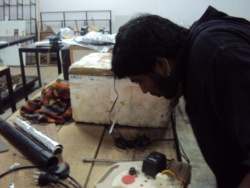
We first experimented with a dummy styrofoam box that we got at a juice centre. we first started with a 75 watt bulb and 1 fan. the fan was placed exactly opposite to the bulb. We also used a layer of al foil to increase heat.The temp reading showed 108°C. and the thermometer bursted. WE then scraped the Al foil idea.
Day 2
We then tried using a 40 watt bulb in the dommy with 3 fans.We placed the fans in such a way that the air circulated evenly through the box. The trmperature shot up to 40°C in the first 20 minutes and then remained constant at 60°C. We thought of having an outlet for the heat to escape and use the fan as an exhaust. This was not safe as there might be a possibality that some microbes may enter the incubator. so we used a bulb of lower wattage.
Day 3
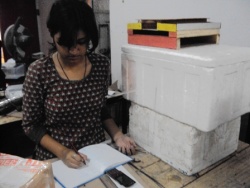
We used a 0 watt bulb in the dummy box along with 3 fans. the new box had also arrived so we tried the same combination in the new box since it was bigger. The readings were as follows:
Dummy Box
Time(min).............Temp(°C)
0..............................33
1..............................34
3..............................35
5..............................36
6..............................37
8..............................38
10.............................39
13.............................40
17.............................41
20.............................42
29.............................43
43.............................44
65.............................45(const)
Final box
Time(min).............Temp(°C)
0..............................31
2..............................32
3..............................33
4..............................34
5..............................35
7..............................36
9..............................37
11.............................38
15.............................39
21.............................40
33.............................41
53.............................42(const)
Day 4
today we used 4 fans to reduce temp. The final temp came to 40°C. We also jumped to the conclusion that each fan reduces the temp of about 20°C, which was wrong.
Day 5
Today we tried to redoce the wattage further by using a mosquito repelent heater. we also used 4 fans in such a way that the air circulates in 2 circles. the temperatures recorded were as follows:
Time(min).............Temp(°C)
0..............................29
1..............................30
2..............................31
4..............................32
5..............................33
6..............................34
8..............................35
11.............................36
20.............................37
60.............................37(const)
Thus we got a constant temperature of 37°C which es the apt temp for E.coli.
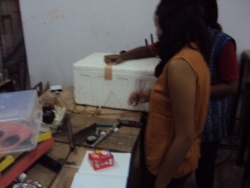
Ref photos
PRECAUTIONS
1. Do not put fans rihgt in front of heater as its constant temperature will drop over time.
2. Do not use a normal thermometre, it cannot take temperature more than 108°F and might burst.
3. If by any chance the thermometer breakes and the mercury spills, dispose it safely without touching it directly.
4. Switch off main power before doing connections.
5. Run the incubator for about half an hour before use
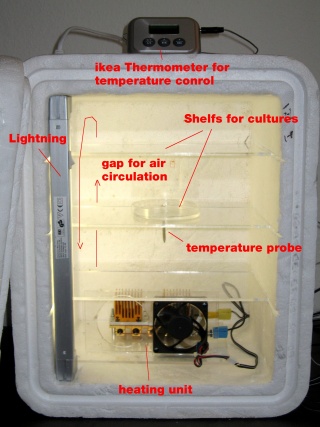
DIY Incubator with simple electronic control
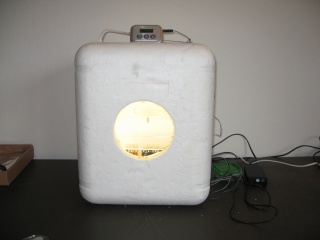
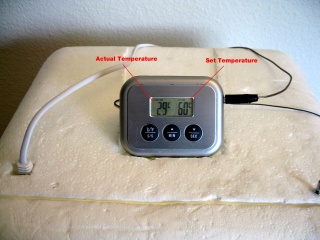
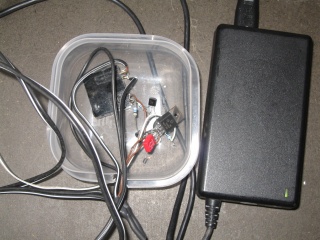
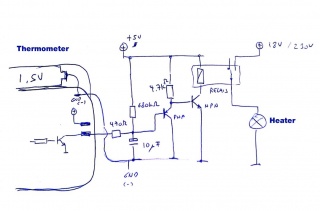
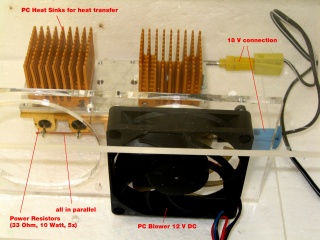
DIY Incubator based on above description, using power resistrors for heating and an electronic thermometer to control the temperature automaticaly. Thus the temperature can be set and will be regulated.
http://www.ikea.com/ch/de/catalog/products/20103016/
DIY Incubator with Temperature Control
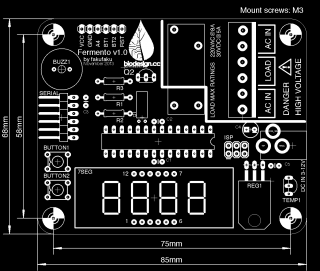
Fermento
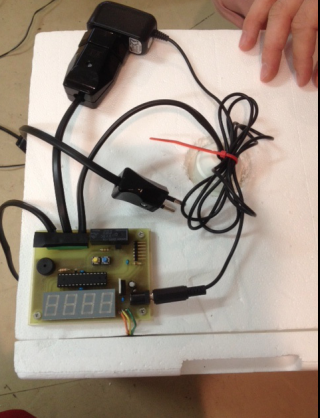
The incubator design from the biodesign for the real world workshop is a simple one. It relies on a single heating element (a light bulb), a temperature sensor, and a control board that controls how long the light bulb is on/off according to the sensor reading.
The circuit board is available in two versions. A simple single sided version for home printing (homebrew) and a more fancy two sided version with all the bells and whistles to send to a PCB fab service (Gerber files available).
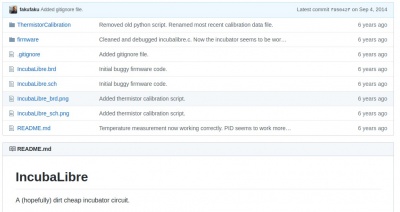
All the design and firmware available in a github repository.
Incuba libre
Even cheaper, based on Attiny85 and PID control of temp regulation.
https://github.com/BioDesignRealWorld/IncubaLibre
Other incubator projects
http://www.instructables.com/id/Portable-Laminar-Flow-Hood/?ALLSTEPS
The Cheapest incubator electronic control in the world, thx ali!
http://usefulldata.com/cheap-12v-temperature-controller-xh-w1209-with-display-and-probe-review/
and you can hack it!
